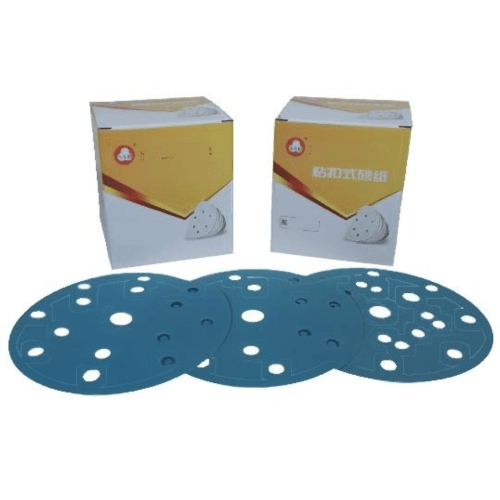
Mastering the Art of Surface Preparation
Whether you're a professional woodworker or a DIY enthusiast, understanding how to use sandpaper effectively can make the difference between a mediocre project and a masterpiece. The proper application of sandpaper transforms rough surfaces into silky-smooth finishes, setting the foundation for perfect staining, painting, or sealing. In this comprehensive guide, we'll explore the essential techniques and insider tips that will elevate your sanding skills to professional levels.
Understanding Sandpaper Fundamentals
Types of Abrasive Materials
Sandpaper comes in various forms, each designed for specific applications. Aluminum oxide is the most common and versatile, ideal for wood, metal, and plastic surfaces. Silicon carbide sandpaper, known for its sharp cutting ability, works best on hardwoods and between finish coats. Garnet paper, though less durable, creates an exceptionally smooth finish on wood and is preferred by many craftsmen for its natural cutting properties.
Grit Selection and Progression
The key to achieving a flawless finish lies in understanding grit progression. Coarse grits (40-60) remove material quickly and level surfaces. Medium grits (80-120) eliminate deeper scratches, while fine grits (150-220) prepare the surface for finishing. Ultra-fine grits (320 and above) create that coveted glass-like smoothness. Always progress through the grits sequentially, never skipping more than one grade to ensure consistent results.
Essential Sanding Techniques
Hand Sanding Methods
When hand sanding, always work with the grain of the wood to avoid cross-grain scratches. Apply even pressure and use a sanding block for flat surfaces to distribute pressure uniformly. For curved surfaces, wrap sandpaper around a flexible backing or conform it to the shape with your fingers. Maintain consistent motion and check your work frequently under good lighting to ensure uniform surface preparation.
Power Sanding Strategies
Power sanders increase efficiency but require careful control. Random orbital sanders help prevent swirl marks while removing material quickly. Keep the sander moving steadily across the surface, allowing the tool's weight to provide the necessary pressure. For edge work, palm sanders offer better control. Remember to vacuum between grits and keep sandpaper clean for optimal performance.
Advanced Surface Preparation Methods
Wet Sanding Techniques
Wet sanding creates an extraordinarily smooth finish by using water or mineral spirits as a lubricant. This technique reduces dust, prevents clogging, and allows for finer particle removal. Use waterproof sandpaper and maintain a consistent wetness without oversaturating. Wet sanding is particularly effective for finishing automotive surfaces and fine furniture.
Contoured Surface Solutions
Complex shapes and contours require specialized approaches. Flexible sanding sponges conform to curves while maintaining even pressure. For tight spaces and detailed work, consider using sanding cords or specialized profile sanders. Always test your technique on scrap material before tackling visible surfaces.
Finishing Touches and Quality Control
Surface Inspection Methods
Proper lighting is crucial for identifying imperfections. Use raking light at various angles to spot inconsistencies. Run your hands over the surface to feel for rough spots that might be invisible to the eye. Between grits, wipe the surface clean with mineral spirits or water on a white cloth to reveal any remaining scratches.
Environmental Considerations
Temperature and humidity significantly impact sanding results. Work in a controlled environment when possible, and allow materials to acclimate before beginning. Dust collection is essential for both health and quality control. Use appropriate protective equipment and maintain good ventilation throughout the sanding process.
Frequently Asked Questions
How do I know when to replace my sandpaper?
Replace sandpaper when it stops cutting effectively, shows visible wear, or becomes clogged with debris. If you're applying more pressure than usual to achieve results, it's time for a fresh sheet. Quality sandpaper is cost-effective as it works faster and produces better results.
What's the best way to prevent clogging when sanding softwoods?
To prevent clogging when sanding softwoods, use a stearated sandpaper which has a coating that resists loading. Regular cleaning of the sandpaper surface with a cleaning stick or compressed air also helps maintain cutting efficiency. Working in a pattern that doesn't overlap too much reduces material buildup.
Should I sand with or against the grain?
Always sand in the direction of the wood grain whenever possible. Cross-grain scratches are difficult to remove and may become visible under finishes. The only exception is when using a random orbital sander, which is designed to minimize cross-grain scratching through its rotating action.


