

Surface preparation stands as the foundation of any successful DIY project, whether you're refinishing furniture, preparing walls for paint, or smoothing rough edges on woodworking pieces. The key to achieving professional-quality results lies in understanding how to properly select and use sand paper for your specific applications. Quality sand paper transforms rough, uneven surfaces into smooth, paint-ready canvases that ensure your final finish adheres properly and looks flawless. From selecting the right grit to mastering proper sanding techniques, this comprehensive guide will equip you with the knowledge needed to tackle any surface preparation challenge with confidence.
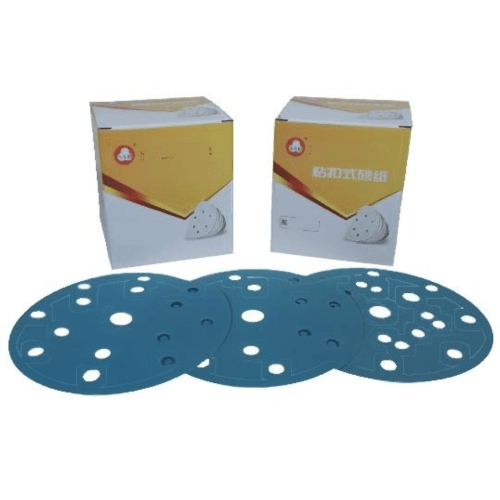
Understanding Sand Paper Grit Systems
Coarse Grit Applications
Coarse grit sand paper, typically ranging from 40 to 80 grit, serves as your heavy-duty solution for initial surface preparation tasks. This aggressive sand paper excels at removing old paint, varnish, or rough surface imperfections from wood, metal, and composite materials. When working with severely damaged surfaces or thick paint layers, coarse grit sand paper quickly strips away unwanted material, saving considerable time and effort compared to finer alternatives.
Professional contractors often begin their surface preparation process with coarse sand paper to establish a solid foundation for subsequent finishing steps. The deep scratches created by coarse grit provide excellent mechanical adhesion for primers and base coats. However, these aggressive abrasives require careful handling to avoid over-sanding or creating gouges that become visible in the final finish.
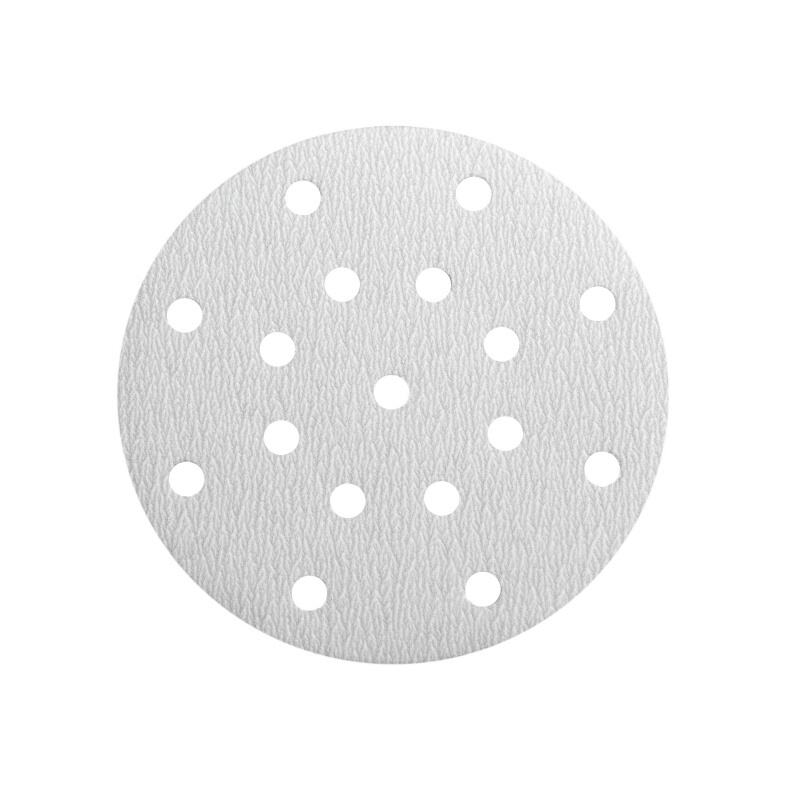
Medium Grit Versatility
Medium grit sand paper, spanning from 100 to 180 grit, represents the workhorse category for most DIY applications. This versatile sand paper effectively bridges the gap between heavy material removal and fine finishing work. Medium grit excels at smoothing surfaces after coarse sanding, removing minor imperfections, and preparing surfaces for primer application without creating excessive scratch patterns.
The balanced cutting action of medium grit sand paper makes it ideal for general-purpose sanding tasks across various materials. Whether you're working with softwood, hardwood, drywall, or metal surfaces, medium grit provides consistent results without the risk of over-aggressive material removal. This grit range also works exceptionally well for between-coat sanding, creating the perfect surface texture for optimal paint adhesion.
Essential Sand Paper Selection Criteria
Material Compatibility Factors
Different substrate materials require specific sand paper characteristics to achieve optimal results without causing damage. Wood surfaces respond well to aluminum oxide or garnet sand paper, which cuts cleanly without tearing wood fibers. Metal surfaces benefit from silicon carbide sand paper, which maintains its cutting edge longer when working with harder materials.
Painted surfaces present unique challenges that require careful sand paper selection based on paint type and age. Latex paints typically sand more easily than oil-based paints, but both require specific techniques to avoid clogging the sand paper or creating heat buildup that damages the underlying surface. Understanding these material-specific requirements ensures efficient sanding and professional results.
Backing Material Considerations
The backing material of sand paper significantly impacts its performance, durability, and suitability for different applications. Paper-backed sand paper offers flexibility and affordability for light-duty tasks but lacks the durability needed for heavy-duty applications. Cloth-backed sand paper provides superior strength and flexibility, making it ideal for curved surfaces and extended sanding sessions.
Polyester film backing represents the premium option for demanding applications, offering exceptional durability and consistent performance. This backing material resists tearing and maintains its abrasive properties longer than traditional alternatives. When selecting sand paper for specific projects, consider the backing material alongside grit size to ensure optimal performance and cost-effectiveness.
Proper Sand Paper Techniques
Hand Sanding Fundamentals
Hand sanding with sand paper requires proper technique to achieve consistent results while minimizing fatigue and material waste. Always sand with the grain when working with wood surfaces, maintaining steady pressure and overlapping strokes to ensure uniform coverage. The key to successful hand sanding lies in allowing the sand paper to do the work rather than applying excessive pressure that can cause gouging or premature abrasive wear.
Proper hand positioning and movement patterns significantly impact sanding efficiency and surface quality. Hold the sand paper firmly but avoid death-gripping, which causes premature fatigue and reduces control. Maintain a consistent angle and pressure throughout each stroke, and regularly inspect your work to ensure even progress across the entire surface.
Power Tool Integration
Power sanders dramatically increase efficiency when paired with appropriate sand paper selections. Orbital sanders work exceptionally well with fine to medium grit sand paper for finishing work, while belt sanders accommodate coarser grits for rapid material removal. The key to successful power sanding lies in matching sand paper characteristics to tool specifications and project requirements.
Heat management becomes critical when using power tools with sand paper, as excessive friction can damage both the abrasive and the workpiece. Allow the sand paper to cut at its designed rate without forcing the process, and regularly clean or replace clogged sand paper to maintain optimal performance. Proper technique with power tools and quality sand paper delivers professional results in fraction of the time required for hand sanding.
Surface Preparation Best Practices
Progressive Grit Sequencing
Successful surface preparation relies on logical progression through sand paper grit sequences, typically moving from coarse to fine in measured steps. Starting with appropriate coarse grit sand paper establishes the foundation, while systematic progression through medium and fine grits refines the surface to the desired smoothness level. Skipping grits or making dramatic jumps often results in visible scratch patterns that compromise the final finish quality.
Professional results require patience and adherence to proper grit progression, even when time constraints create pressure to rush the process. Each grit level should completely remove scratches from the previous grit before advancing to the next finer sand paper. This methodical approach ensures smooth, uniform surfaces that provide optimal adhesion for subsequent coatings.
Quality Control Measures
Effective quality control during sand paper operations prevents costly mistakes and ensures consistent results across entire projects. Regular inspection of sanded surfaces under proper lighting reveals imperfections that might otherwise go unnoticed until after coating application. Cross-grain scratches, missed spots, and over-sanded areas become immediately apparent under raking light conditions.
Tactile inspection complements visual assessment, allowing you to feel surface inconsistencies that eyes might miss. Run your hand lightly across sanded surfaces to detect raised grain, scratches, or rough spots that require additional attention. This hands-on approach, combined with systematic sand paper application, delivers professional-quality surface preparation consistently.
Troubleshooting Common Sand Paper Issues
Clogging Prevention and Management
Sand paper clogging represents one of the most common challenges in surface preparation, particularly when working with soft materials or old paint layers. Clogged sand paper loses its cutting efficiency and can actually burnish surfaces rather than abrading them. Prevention strategies include selecting appropriate grit sizes for specific materials and maintaining proper sanding pressure to avoid generating excessive heat.
When clogging occurs despite preventive measures, several techniques can restore sand paper functionality. Crepe rubber cleaning sticks effectively remove accumulated debris from sand paper surfaces, extending usable life significantly. For stubborn clogs, compressed air can dislodge particles trapped in the abrasive structure. Understanding when to clean versus replace sand paper optimizes both results and cost-effectiveness.
Scratch Pattern Management
Unwanted scratch patterns often result from improper sand paper selection or technique rather than abrasive quality issues. Cross-grain scratches on wood surfaces typically indicate sanding against the grain or using excessively coarse sand paper for the application. These deep scratches require systematic removal through proper grit progression and correct sanding direction.
Swirl marks from orbital sanders can be minimized through proper sand paper selection and technique adjustment. Using progressively finer sand paper grits and reducing orbital speed for final passes helps eliminate these circular patterns. Additionally, finishing with hand sanding using fine grit sand paper often removes subtle swirl marks that power tools cannot eliminate completely.
FAQ
What grit sand paper should I start with for furniture refinishing
For furniture refinishing, start with 80-grit sand paper if you need to remove existing finish completely, or 120-grit if the existing finish is in good condition and you're just smoothing the surface. Progress through 150-grit and finish with 220-grit sand paper for optimal paint or stain adhesion. Always test your chosen starting grit on an inconspicuous area first.
How do I know when sand paper needs replacement
Replace sand paper when it stops cutting efficiently, appears glazed or shiny, or becomes heavily clogged with debris that cannot be cleaned. You'll notice that fresh sand paper requires less pressure to achieve the same results. Worn sand paper often burnishes surfaces rather than abrading them, which can interfere with proper coating adhesion.
Can I use the same sand paper for different materials
While some sand paper types work across multiple materials, optimal results come from matching abrasive type to specific materials. Aluminum oxide sand paper works well for wood and metal, while silicon carbide excels on glass, plastic, and painted surfaces. Using material-specific sand paper improves efficiency and surface quality while extending abrasive life.
Why does my sand paper clog so quickly when sanding painted surfaces
Soft paint layers, especially latex paints, tend to clog sand paper quickly due to heat buildup during sanding. This heat softens the paint, causing it to stick to the abrasive rather than being cut away cleanly. Use coarser grit sand paper initially, maintain light pressure, and consider using specialized paint-removal sand paper designed to resist clogging.