

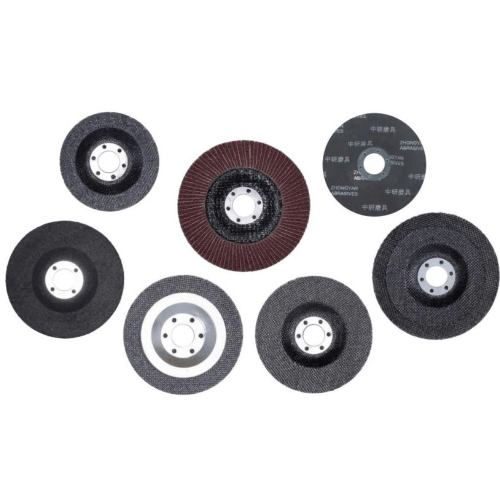
Professional craftsmen and DIY enthusiasts alike know that sandpaper can be one of the most expensive consumables in any finishing project. Understanding how to maximize the lifespan of your sandpaper not only reduces costs but also ensures consistent performance throughout your sanding tasks. The key to extending sandpaper durability lies in proper selection, preparation techniques, and maintenance practices that prevent premature wear and clogging.
Making sandpaper last longer requires a systematic approach that addresses the common causes of rapid deterioration. Heat buildup, material loading, improper pressure application, and incorrect grit selection are the primary factors that shorten sandpaper life. By implementing proven techniques for temperature management, debris clearing, and optimal sanding patterns, you can significantly extend the working life of each sheet or disc while maintaining superior surface finish quality.
Understanding Sandpaper Wear Patterns
Heat Generation and Thermal Damage
Excessive heat is the primary enemy of sandpaper longevity, causing the abrasive grains to lose their cutting edges and the adhesive backing to deteriorate. When sandpaper operates at high temperatures, the resin bonds that hold abrasive particles to the backing material begin to soften and fail. This thermal breakdown occurs most frequently when using power sanders at high speeds or applying excessive pressure during manual sanding operations.
Temperature management becomes critical when working with dense hardwoods, metal surfaces, or synthetic materials that generate significant friction. The key to preventing thermal damage lies in controlling the rate of material removal and allowing adequate cooling time between passes. Professional finishers often use intermittent sanding techniques, working in short bursts followed by brief cooling periods to maintain optimal sandpaper performance.
Material Loading and Clogging Issues
Material loading occurs when sanded particles become embedded in the sandpaper surface, creating a smooth, glazed appearance that reduces cutting efficiency. This phenomenon is particularly common when sanding softwoods with high resin content, painted surfaces, or materials that produce fine, sticky dust. Once loading begins, the sandpaper loses its aggressive cutting action and requires significantly more pressure to achieve the same results.
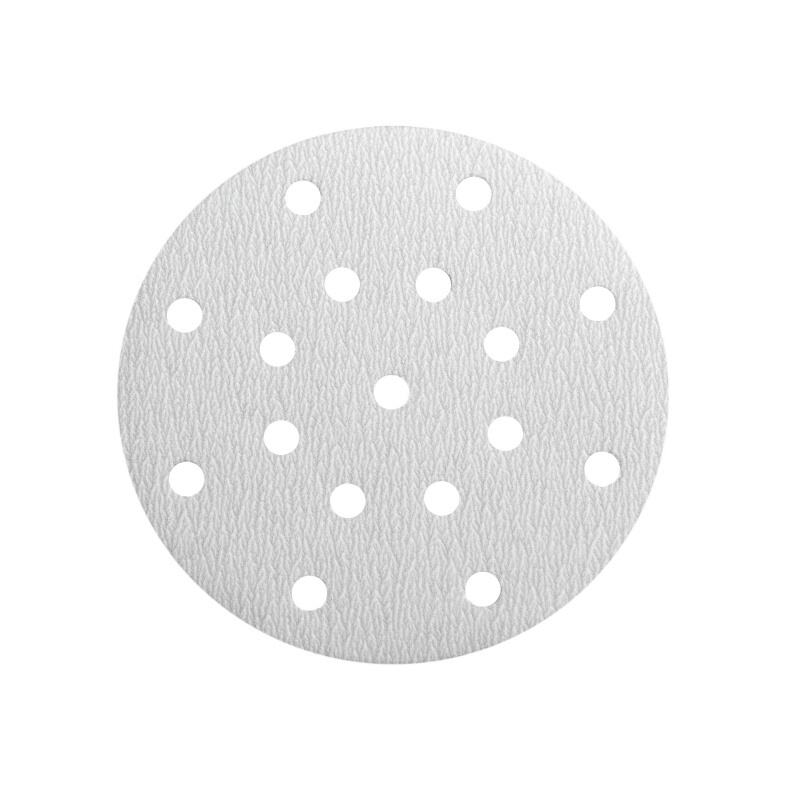
Understanding the relationship between material properties and loading potential helps in selecting appropriate sandpaper types and implementing preventive measures. Open-coat sandpaper designs with wider spacing between abrasive grains resist loading better than closed-coat alternatives, while stearate coatings provide additional anti-loading protection for challenging materials.
Proper Sandpaper Selection and Preparation
Matching Grit Size to Application Requirements
Selecting the correct grit size is fundamental to maximizing sandpaper life and achieving optimal results. Using grits that are too coarse for the application creates unnecessary waste and can damage the work surface, while grits that are too fine require excessive time and pressure to achieve the desired finish level. The progressive grit sequence approach, starting with coarser grits and gradually moving to finer ones, ensures efficient material removal while preserving sandpaper integrity.
Professional sanding protocols typically follow established grit progression ratios, with each successive grit being approximately 1.5 times finer than the previous one. This systematic approach prevents the common mistake of jumping between drastically different grit sizes, which can cause premature sandpaper wear and inconsistent surface finishes. Understanding material hardness, desired finish quality, and time constraints helps determine the optimal starting grit and progression sequence.
Surface Preparation and Contamination Control
Proper surface preparation significantly extends sandpaper life by removing contaminants that can cause rapid dulling or loading. Metal surfaces should be cleaned of rust, oil, and scale before sanding, while wood surfaces benefit from removal of loose bark, dirt, and previous finish residues. Even small amounts of surface contamination can dramatically reduce sandpaper effectiveness and cause premature failure.
Pre-sanding inspection should identify potential problem areas such as embedded nails, staples, or other foreign objects that can damage sandpaper immediately upon contact. Creating a clean work environment with adequate dust collection also prevents airborne particles from settling on the work surface and interfering with the sanding process. These preparation steps require minimal time but provide substantial returns in terms of sandpaper longevity and finish quality.
Optimizing Sanding Techniques and Pressure Control
Pressure Application and Force Distribution
Applying excessive pressure is one of the most common mistakes that shortens sandpaper life unnecessarily. Heavy pressure generates excessive heat, accelerates abrasive grain wear, and can cause the backing material to tear or delaminate. The optimal approach involves using just enough pressure to maintain consistent contact between the sandpaper and work surface while allowing the abrasive grains to perform their cutting action naturally.
Professional sanders develop a feel for optimal pressure through experience, but beginners can use the principle that sandpaper should cut efficiently with light to moderate pressure. If significant force is required to achieve material removal, the problem likely stems from incorrect grit selection, loaded sandpaper, or inadequate sanding technique rather than insufficient pressure. Learning to recognize these conditions and adjust accordingly prevents wasteful sandpaper consumption.
Movement Patterns and Grain Orientation
Systematic movement patterns and proper grain orientation significantly impact sandpaper performance and longevity. Random orbital patterns help prevent the creation of deep scratches while ensuring even wear across the entire sandpaper surface. Linear sanding motions should follow the wood grain direction whenever possible to minimize tear-out and achieve smoother finishes with less effort.
The overlap pattern between successive sanding passes affects both surface quality and sandpaper wear characteristics. Overlapping each pass by approximately one-third ensures consistent coverage while preventing the formation of high and low spots that require additional sanding to correct. This systematic approach maximizes the effective use of each piece of sandpaper while producing superior surface preparation results.
Maintenance and Cleaning Techniques
Mechanical Cleaning Methods
Regular cleaning extends sandpaper life dramatically by removing loaded material and restoring cutting efficiency. Mechanical cleaning methods include using cleaning sticks, wire brushes, and compressed air to clear embedded particles from the sandpaper surface. Cleaning sticks, made from rubber-like compounds, effectively remove loaded material without damaging the abrasive grains or backing material.
The timing of cleaning operations affects their effectiveness, with frequent light cleaning being more beneficial than occasional heavy cleaning. Sandpaper should be cleaned as soon as loading becomes visible, typically appearing as shiny or smooth areas on the abrasive surface. Waiting until heavy loading occurs makes cleaning more difficult and may result in permanent damage to the sandpaper structure.
Storage and Handling Best Practices
Proper storage conditions significantly impact sandpaper shelf life and performance characteristics. Sandpaper should be stored in cool, dry environments to prevent adhesive degradation and backing material deterioration. High humidity can cause paper-backed sandpaper to curl or wrinkle, while excessive heat can make cloth-backed materials brittle and prone to tearing.
Handling techniques also affect sandpaper longevity, with careful mounting and removal procedures preventing unnecessary damage. Sandpaper should be stored flat or rolled loosely to prevent creasing, and unused portions should be protected from dust and moisture. These simple storage practices ensure that sandpaper maintains its optimal performance characteristics throughout its useful life.
Environmental Factors and Working Conditions
Temperature and Humidity Control
Environmental conditions play a crucial role in sandpaper performance and durability. High ambient temperatures accelerate the thermal breakdown of adhesive bonds and can cause premature grain loss, while excessive humidity affects the dimensional stability of paper-backed products. Maintaining optimal working conditions involves controlling both temperature and humidity levels within reasonable ranges for the specific sandpaper type being used.
Air circulation and ventilation systems help maintain consistent environmental conditions while removing heat and dust generated during sanding operations. Adequate ventilation also prevents the accumulation of airborne particles that can interfere with sandpaper performance and create health hazards for operators. These environmental controls require initial investment but provide long-term benefits in terms of sandpaper efficiency and workplace safety.
Dust Collection and Debris Management
Effective dust collection systems dramatically extend sandpaper life by preventing re-contamination of cleaned surfaces and reducing the load on abrasive grains. Dust collection should be designed to capture particles at the source, preventing them from becoming airborne and settling on work surfaces or embedding in fresh sandpaper. The collection system capacity should match the dust generation rate to maintain consistent performance throughout extended sanding operations.
Regular maintenance of dust collection systems ensures optimal performance and prevents the buildup of debris that can reduce collection efficiency. Filter replacement schedules should be based on actual usage patterns rather than arbitrary time intervals, with filter condition being monitored through pressure differential measurements or visual inspection. Properly maintained dust collection systems provide substantial returns on investment through reduced sandpaper consumption and improved surface quality.
FAQ
How often should I clean my sandpaper during use?
Clean your sandpaper as soon as you notice loading or glazing on the surface, typically every 5-10 minutes of continuous use depending on the material being sanded. For resinous woods or painted surfaces, cleaning may be needed more frequently. Light, frequent cleaning is more effective than waiting for heavy loading to occur.
Can I extend the life of worn sandpaper by flipping it over?
No, flipping sandpaper over will not extend its useful life because abrasive grains are only bonded to one side of the backing material. The reverse side is smooth and will not provide any cutting action. Instead, focus on proper cleaning techniques and optimal usage practices to maximize the life of the abrasive side.
What is the best way to store unused sandpaper sheets?
Store sandpaper in a cool, dry location away from direct sunlight and temperature extremes. Keep sheets flat or loosely rolled to prevent creasing, and protect them from dust and moisture with sealed containers or plastic bags. Avoid storing sandpaper in areas with high humidity or temperature fluctuations, as these conditions can degrade the adhesive and backing materials.
Why does my sandpaper seem to wear out faster on certain materials?
Different materials have varying effects on sandpaper wear due to their hardness, resin content, and heat generation characteristics. Dense hardwoods, metals, and painted surfaces typically cause faster wear than softwoods or previously sanded surfaces. Adjusting your technique, using appropriate grit selections, and implementing proper cooling methods can help manage these challenging materials more effectively.